In this article, I will examine entering an enemy AFV’s Location. This article comes courtesy of Paul Sidhu, who reintroduced me to this lesson when we played in Albany. While I knew this rule prior to our game, I had actually mangled it in my mind. With that start, let’s get stuck in on this topic.
Rules Dive
When entering an enemy AFV’s Location D2.6 covers the situation. Take a moment to familiarize yourself with the rule. Assuming no LOS exists between the two AFVs, an AFV can enter another AFV’s Location at any time. But what if an LOS exists?
According to D2.6 is an AFV cannot stop or end its MPh in an enemy AFV’s Location unless it can eliminate/Shock the enemy AFV on an Original IFT or TK DR of 5 at the moment/position of entry. Notice that’s END its MPh, not during. When playing Paul, I thought it couldn’t enter at all without being able to eliminate/Shock on a TK DR of 5. Paul said I was wrong. I looked up the rule to show him how wrong he was. Needless to say, Paul proved to be correct and we get this article. Let’s look at some examples.
Example 1
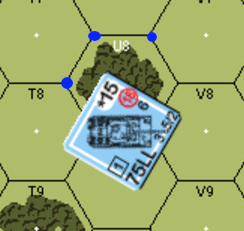
Assume all hexsides of U8 are bypassable. According to D2.32, a vehicle’s VCA points to a specific vertex, which is the Covered Arc Focal Point (CAFP) of an AFV in bypass. All LOS checks are measured to and from the CAFP. Should an enemy AFV wish to enter U8 and remain in bypass at the end of its turn, it has a couple of options. A vehicle whose VCA is at one of the blue vertices would be out of LOS of the Panther. The Original TK DR of 5 does not apply in those cases. An AFV ending its MPh at any other vertex in the U8 must be able to eliminate/Shock the Panther on an Original TK DR 5. We will examine this “Original TK DR 5” in the next example.
Example 2
This example originally appeared in my article AFV Combat Basics in ASL: Tank vs. Tank article as Example 3. What appears here is a little more thorough explanation of entering the Panther’s Location. If you want to see this example in context, go have a read of the previous article.
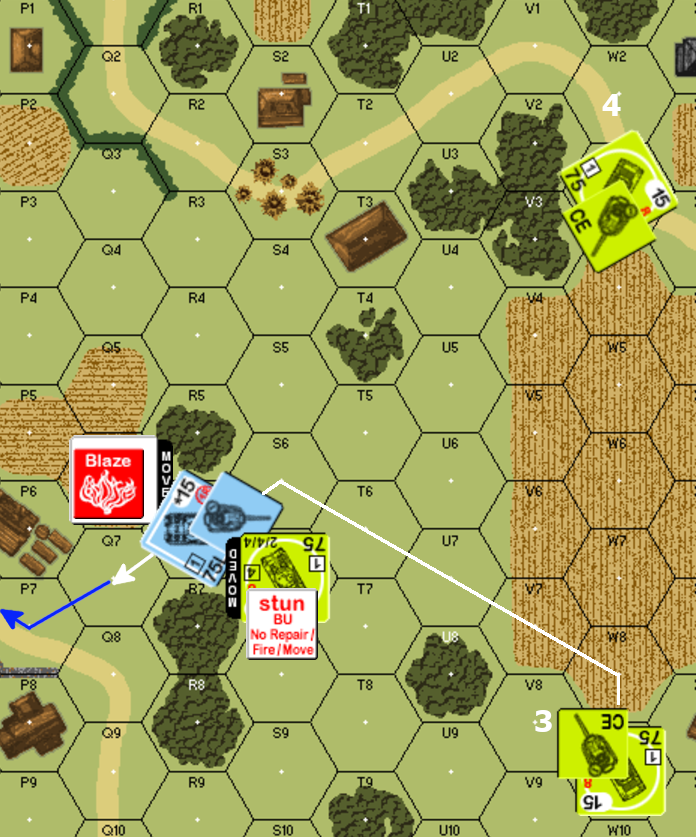
Here we have a Dance of Death in progress. The American player is trying to eliminate the Panther. Sherman 3 seeks to exhaust the remaining ROF/MG fire from the Panther to set Sherman 4 up for the Bounding First Fire kill. Sherman 3 starts and proceeds to S6 following the white arrow. It makes it there, spending 7 MPs leaving 8 MPs remaining.
The Sherman then continues to R6 for 2 MP. Can the Sherman stop here? At the time of entry, the Sherman entered the Panther’s Location via the frontal VCA/TCA of the Panther. The Panther’s frontal armor is “circle 18” (18 hull, 14 turret armor). Comparing this to the Sherman’s 14 Basic TK, add a +1 for range to get a Modified TK# of 15. Comparing this to the Panther’s armor yields a Final TK# of -3/1 (hull/turret). The Sherman cannot eliminate/Shock the Panther on an Original TK DR of 5. The Sherman cannot stop or end its MPh in the Panther’s Location and must leave. If it does not have enough MPs to leave the Location, it cannot even enter. Also, keep in mind an AFV cannot roll for ESB in the Panther’s Location unless it meets the requirements to stay in the hex.
In our example, the Sherman continued following the white arrow to shoot at the Panther and then followed the blue arrow to clear for later attacks.
Example 3
Example 1 also serves to highlight one danger of using bypass movement. To enter the Dance of Death, an AFV must be capable of changing its VCA/TCA to present its most heavily armored aspect to the attacking AFV. Let’s see how this goes for a Panther in Stationary Bypass.
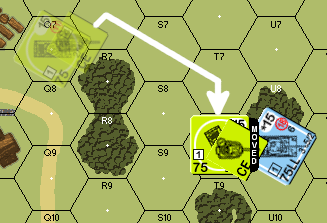
The Panther is in bypass of U8 when the American player starts his MPh. Starting the Sherman for 1 MP, the American player moves the Sherman to T8 and Stops. What are the Panther’s options?
The Panther could attempt to use its Smoke Dispenser. We discussed the implications of this in a previous article so I do not expand on that here.
The Panther has seen the Sherman for 2 MPs. It could make a Motion attempt and hope to go into Motion. As part of a successful Motion attempt, the Panther can make a free CA change but it cannot change its VCA when in bypass except as part of a move to another bypassable hexside. The best the Panther could do is turn its TCA and hope the Sherman hits the turret.
Panther Fails Its Motion Attempt
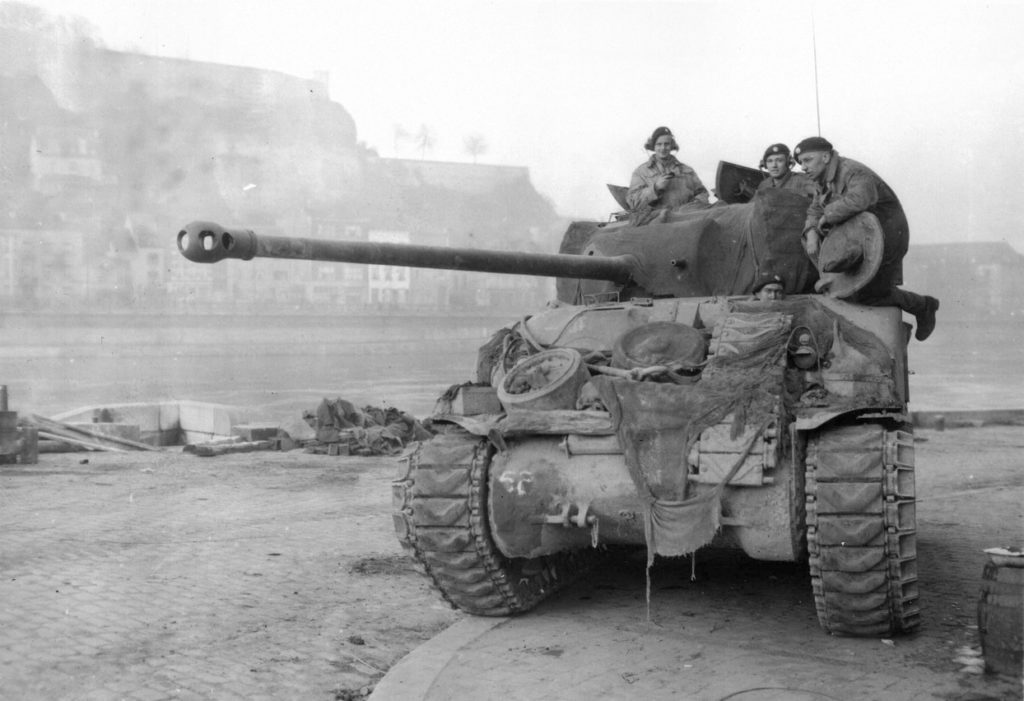
What if the Panther fails its Motion attempt? Its options would depend on when it made the Motion attempt. If the Panther waits for the Sherman to Stop to get his best odds to go in Motion, the Panther’s only option would be to shoot the Sherman with its MA/CMG to point its stronger turret armor to the Sherman. Given the white ROF background on the Sherman counter, though, the Panther will not win a Gun Duel with the Sherman.
The Panther’s Firer-Based DRM’s are +3 Case A, +1 Case I (+4 Total). The Sherman’s Firer-Based DRMs are +2 Case B, +2 Case C, +2 Case C2 (+6 Total). Recall that per U.S. MAVN R, an AFV with a white ROF background has its Firer-Based TH DRMs halved for determining who wins a Gun Duel. This makes the Sherman’s Gun Duel DRM a +3 meaning it shoots first.
The Sherman’s Basic TH# is 10. It has +2 Case B, +2 Case C, +2 Case C2, -2 Case L, -1 Case P for a total of +3 DRM. It hits the Panther on an Original TH DR of 7. Its Basic TK# is 14, it would add +1 for hitting the rear of the Panther, and another +1 for range. It’s Modified 16TK is compared to the Panther’s armor arriving at a Final TK# of 10.
But Wait, There’s More
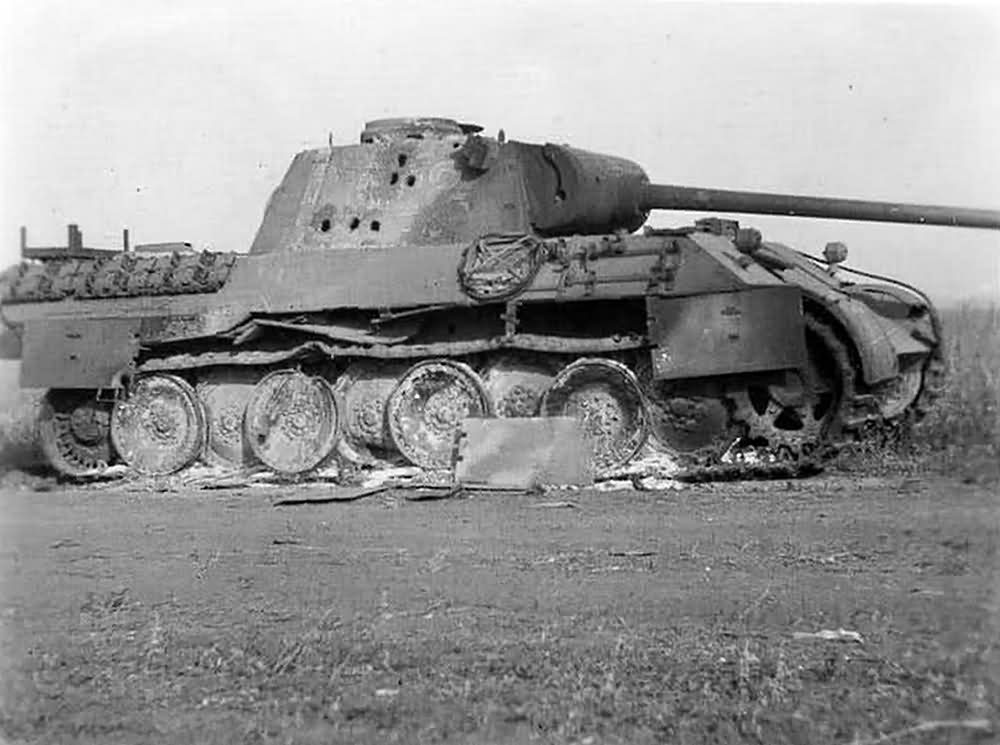
If the Panther instead opts to try for Motion before the Sherman Stops, it would have to do so by making a dr <=1. Failing the dr, it could attempt to shoot the Sherman with its MA/CMG to point its thicker turret armor facing to the Sherman, but the hull rear would still face backwards. If it shoots the MA and maintains ROF, it is likely death for the Sherman to Stop. If it shoots the CMG, it could conceivably Stun the Sherman which will also likely be the end of the Sherman.
Of course, the Sherman could opt to Gun Duel the Panther’s MA/CMG shot, declaring Bounding First Fire while Non-Stopped. When calculating the Gun Duel DRMs, the doubling of the lower die for Case C4 does not factor into the Gun Duel DRM calculations (C2.2401). The Firer-Based DRMs are unchanged for either side. The Sherman wins the Gun Duel again. While the Panther’s overall shot is worse due to the 1 MP spent in LOS, the Sherman has the same shot as before except for the doubling of the lower die of the TH DR.
What’s The Point?

I could continue to play out possible permutations and what-ifs for the scenario depicted in Example 3, but it would make this article impossibly long. I bring the topic up because I barely touched on it in AFV Combat Basics in ASL: Tank vs. Tank. In case it isn’t clear, an AFV in bypass is defensively compromised. The AFV is vulnerable to being hit in the rear and sides. Since they can’t change their VCA, they are a lot less flexible when dancing for their lives. If you’re going to leave an AFV in Stationary Bypass, support it with friendly units or you may find the AFV is easily destroyed. I know when I see my opponent leave an AFV in Stationary Bypass I am already thinking how I am going to kill it when I move next.
Conclusion
I hope this second Missing Example helps to shed some additional light on AFV combat. The expansion on entering an enemy AFV’s Location was poignant for me. I hope you learn from my mistakes.
I also hope the added mini-example of a Panther in bypass attempting the Dance of Death was also enlightening. Unfortunately, I didn’t touch on bypass much in my original article. Creating Example 1 for this article reminded me of the difficulties and I thought it would be a good idea to point them out here.
Thanks to Paul for not only re-teaching me a forgotten lesson, but also for letting me re-tell this story so others can learn from it. Thanks Paul.
As always, I hope this helps in some small way. Until next time. – jim
